Setting the Stage for Spooktacular Delights: Tips for a Beautiful Halloween Dessert Table
When it comes to Halloween celebrations, a visually stunning dessert table can take your gathering from ordinary to extraordinary. Whether you're hosting a haunted house party or a cozy gathering with close friends, we've got you covered with our top tips for creating a mesmerizing Halloween dessert table that will leave your guests in awe. Get ready to set the stage for spooktacular delights!

1. Choose a Bewitching Theme:
To create a cohesive and visually appealing dessert table, start by selecting a bewitching theme. Whether it's a haunted graveyard, a witch's lair, or a whimsical pumpkin patch, let your theme guide your decorations, color palette, and choice of desserts. This will ensure a harmonious and captivating display.
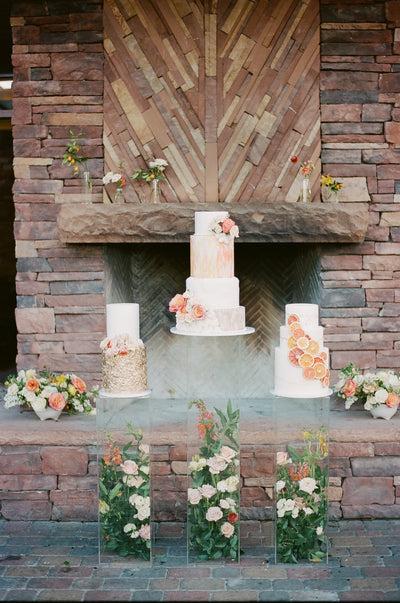
We created a fall-Halloween vibe on this arrangement.
2. Play with Colors:
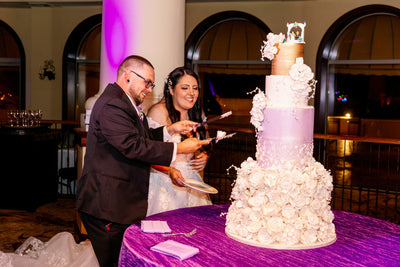
Halloween is the perfect time to embrace a darker, more mysterious color scheme. Opt for a combination of rich hues such as deep purples, blacks, oranges, and blood-reds to create an atmospheric and dramatic backdrop for your treats. Consider using colored linens, table runners, and backdrop materials to set the tone.
3. Beware of Texture:
Adding texture to your dessert table can enhance its visual appeal. Incorporate elements like lace, burlap, or spiderweb-inspired fabrics as table coverings or as part of your display. Mix textures with different levels of sheen, such as matte cake stands, glossy glazes, and sparkly accents, to create depth and visual interest. Don't forget to add a spooky pumpkin!
4. Spooky Centerpiece:
A show-stopping centerpiece can be the focal point of your dessert table. Consider a large, eye-catching cake adorned with Halloween-themed decorations like witches' hats, tombstones, or bats. Alternatively, a towering cupcake display featuring ghostly meringue swirls or fondant pumpkins can also make a striking centerpiece.
 5. Hauntingly Delicious Treats:
Choose a variety of Halloween-inspired treats that not only look incredible but taste amazing too. Include a mix of cupcakes, cookies, cake pops, macarons, and mini pies in flavors like pumpkin spice, caramel apple, and chocolate. Decorate them with edible glitter, creepy sprinkles, or fondant shapes related to your chosen theme. Now remember, you do not have to overthink how this part matches. Usually guests will grab items that look delicious more than matchy-matchy to the ambiance.
6. Display with Heights:
Create visual interest by varying the heights of your dessert displays. Use cake stands, tiered trays, or decorative boxes covered in themed fabric to add dimension to your table. This will allow your treats to stand out and create an aesthetically pleasing arrangement.
7. Spooky Props and Decorations:
Enhance your dessert table with spooky props and decorations that complement your theme. Incorporate elements like cauldrons, potion bottles, skeleton hands, or faux spiders to add a touch of macabre charm. Candles, flickering LED lights, and strategically placed cobwebs can also create an eerie atmosphere.
8. Labeling and Signage:
Don't forget to label your treats! Create small, themed labels or signs that indicate the type of dessert or flavor. You can use mini chalkboards, tombstone-shaped cards, or handwritten labels with spooky calligraphy. This not only adds a professional touch but also helps guests navigate the array of tempting treats.
 With these tips, you're well on your way to creating a beautiful Halloween dessert table that will leave your guests spellbound. Remember, it's all about embracing the spirit of Halloween, letting your creativity run wild, and delighting your guests with both visual and delectable treats. So, gather your cauldron and get ready to mesmerize with a spooktacular display of Halloween sweets!